需求分析
用户模块:
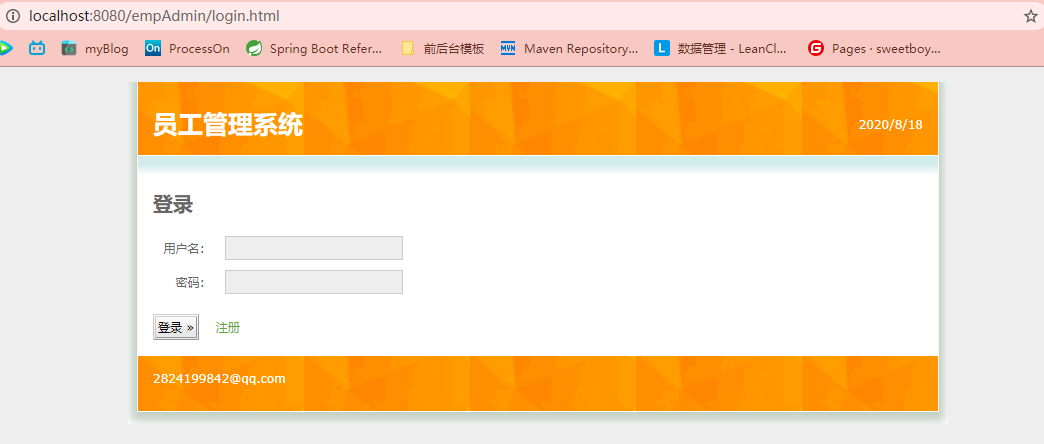
- 1、用户登录
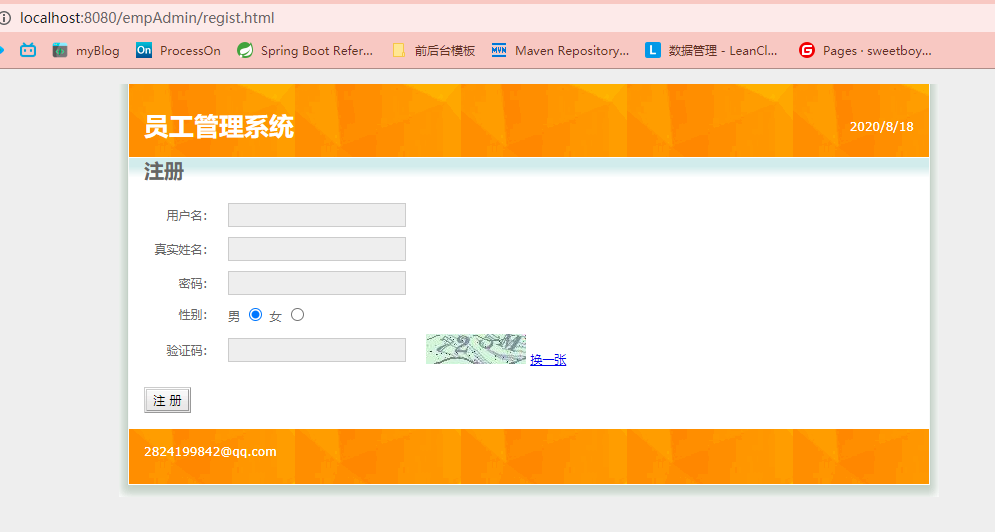
- 2、用户注册
- 3、验证码实现
- 4、欢迎xx用户登录
- 5、安全退出
- 1、用户登录
员工管理模块:
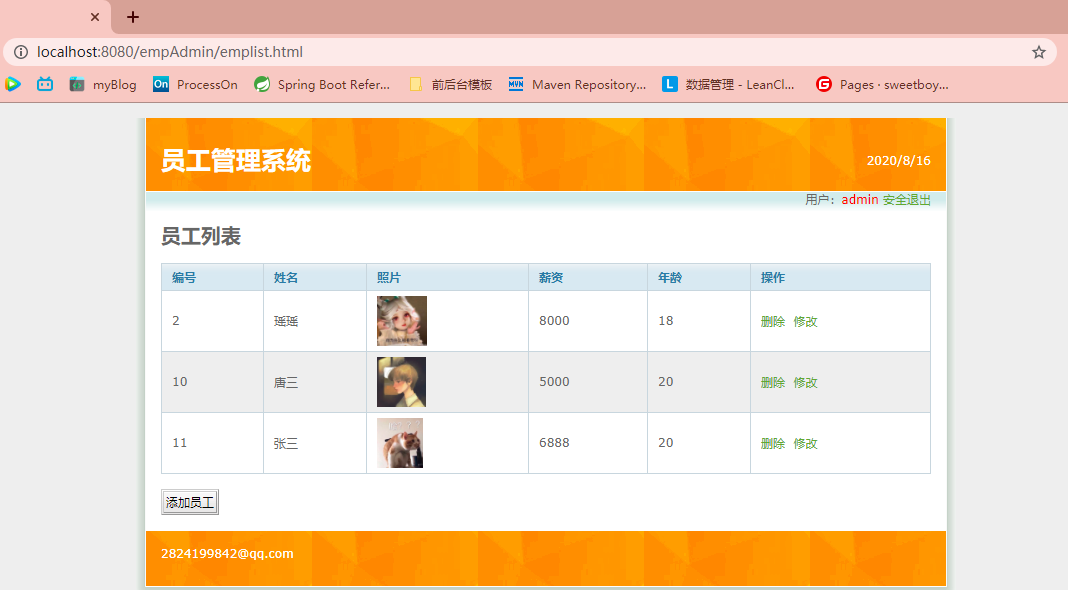
- 6、员工信息展示
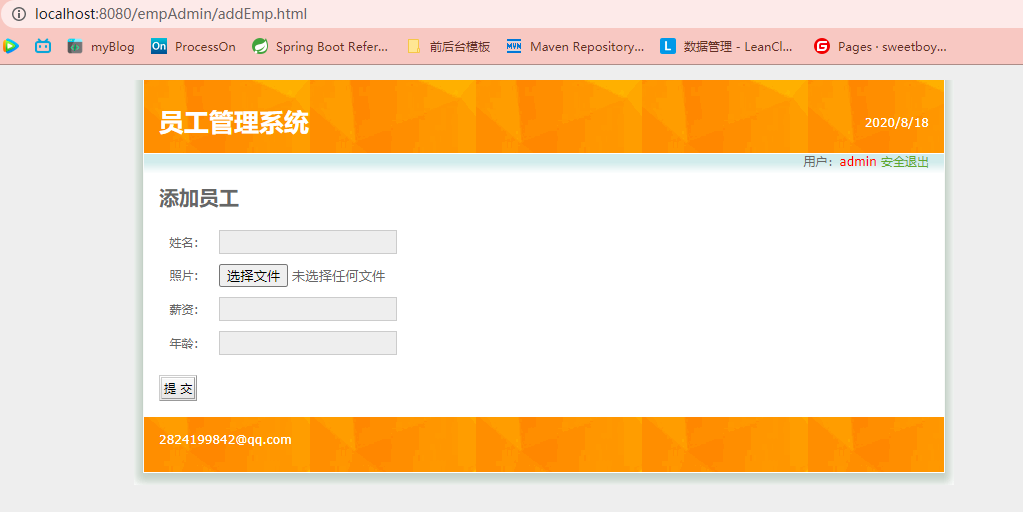
- 7、员工的添加
- 8、员工的删除
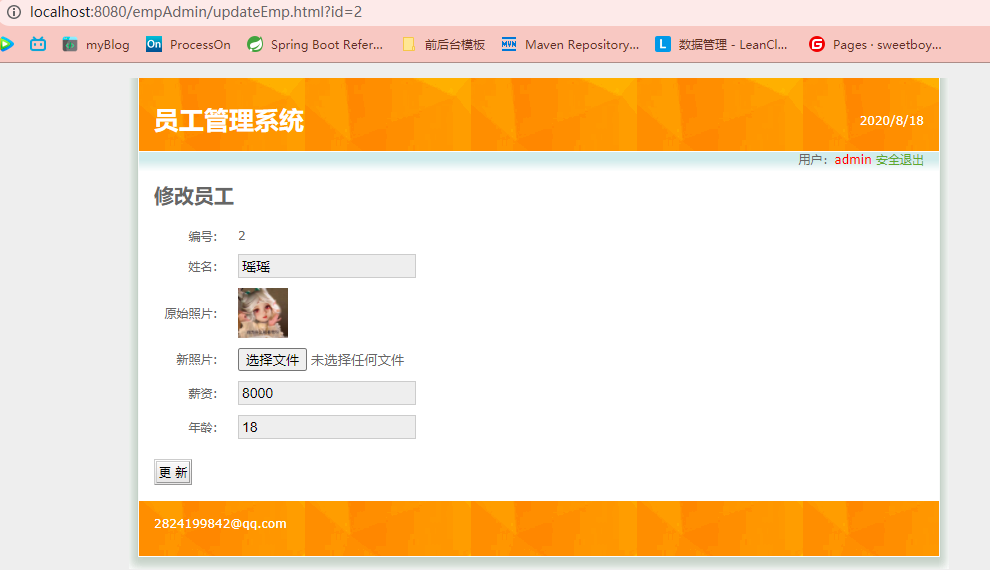
- 9、员工的修改
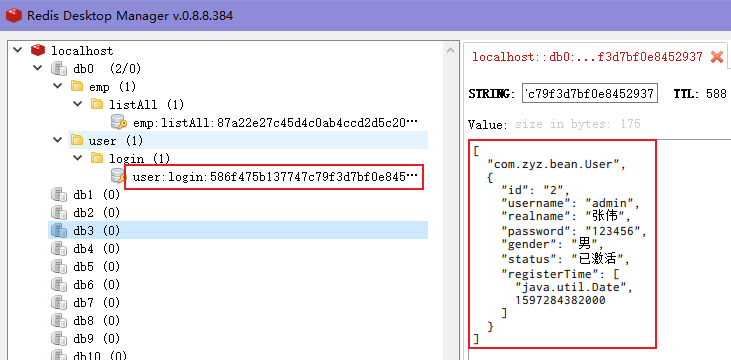
- 10、员工列表加入Redis缓存实现
技术选型
- 前端:vue+axios
- 后端:springboot + mybatis + mysql + redis
库表设计
1、系统需要哪些表
用户表
员工表
2、分析表与表之间的关系
用户表管理员工表,没有什么关系,涉及到的都是单表操作
3、分析表中的字段
用户表字段
id、username、realname、password、gender、status、registerTime
员工表
id、name、photoPath、salary、age
创建emp数据库,创建表
1 | create table t_user( |
详细设计
流程图,伪代码(小项目省略)
编码环节
环境准备
springboot+mybatis+mysql、引入员工系统页面
项目名:emps
项目结构:
1 | -src/main/java |
正式进入编码
一、用户模块
1、创建springboot项目,勾选相应的依赖

搭建项目基本结构: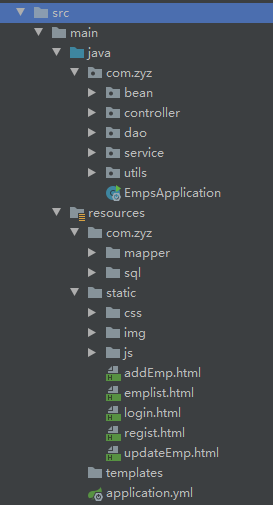
引入其他依赖
1 | <dependency> |
2、编写springboot配置文件
1 | # 指定工程访问路径 |
3、实现验证码展示功能
验证码工具类
1 | package com.zyz.utils; |
创建UserController类
1 | package com.zyz.controller; |
在前端发起异步请求
1 | <script src="js/vue.js"></script> |
1 | <td> |
1 | <p v-text="date"></p> |
4、实现注册功能
创建User实体类,使用lombok!
1 | package com.zyz.bean; |
编写dao层
1 | package com.zyz.dao; |
对应的sql映射文件
1 |
|
编写service层
1 | package com.zyz.service; |
实现对应的service接口
1 | package com.zyz.service.impl; |
编写controller层,在UserController中添加响应注册请求的方法
1 |
|
编写前端页面
在vue对象的data中添加user对象,用来接收页面的参数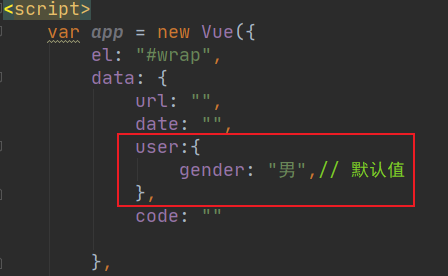
将页面中的表单项与user的每一个属性值绑定,.trim去掉前后空格
给按钮绑定注册事件
1 | <input @click="register" type="button" class="button" value= " 注 册 "/> |
发起注册请求
1 | // 注册 |
5、实现登录功能
dao层
已经有通过名字查询用户信息的方法queryUserByName(String username),service层直接调用即可
service层
1 |
|
controller层
1 | ("login") |
前端页面
1 | <p v-text="date"></p> |
1 | <input type="text" v-model="user.username" /> |
1 | <input type="password" v-model="user.password" /> |
1 | <script> |
6、实现用户登录信息展示
登录成功后的信息都在后端这边,前端拿不到这些数据。
在前后端未分离的时候,通常都是通过服务端的HttpSession来保存这些信息,服务端在创建了Session的同时,会为该Session生成唯一的sessionId并保存到浏览器中,在随后的请求通过携带sessionId重新获得已经创建的Session;
而在前后端分离的系统中,前端与后端分别部署在不同的服务器上,前后端交互时,前端请求不会带上后端sessionId,session获取不到。因此将信息保存至浏览器中的localStorage中
在controller中保存用户信息: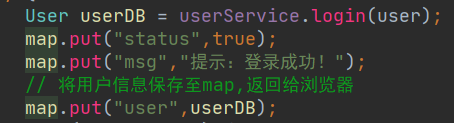
登录成功后保存用户信息到localStorage:
1 | login(){ |
在员工展示页面显示登录名:
1 | <script> |
1 | <p>用户:<span v-show="user!=null" v-text="user.username" style="color: red"></span> |
7、实现退出功能
删除localStorage中的用户数据,跳转至登录页
1 | methods:{ |
二、员工模块
1、展示所有员工的信息
创建实体类
1 | package com.zyz.bean; |
dao层
1 | package com.zyz.dao; |
1 |
|
service层
1 | package com.zyz.service; |
1 | package com.zyz.service.impl; |
controller层
1 | package com.zyz.controller; |
前端
在data中添加一个数组,用来存放所有员工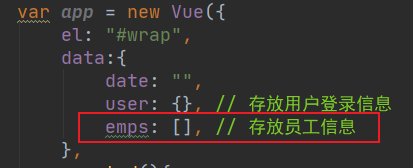
1 | // 查询员工 |
1 | <!--遍历员工列表--> |
2、添加员工
dao层
添加添加员工的方法:
1 | // 添加员工 |
对应的mapper文件
1 | <insert id="add" parameterType="Emp" useGeneratedKeys="true" keyProperty="id"> |
service层
1 | void add(Emp emp); |
1 |
|
controller层
1 | # 配置上传文件的地址 |
1 | // 注入上传用户头像的地址 |
前端
绑定表单属性,对文件添加引用
1 | <script> |
修改显示用户头像的标签路径
1 | <td> |
3、删除员工
dao层
1 | // 删除员工 |
1 | <delete id="delete" parameterType="String" > |
service层
1 | // 删除员工 |
1 |
|
controller层
1 | ("delete") |
前端
1 | // 删除员工 |
参数传递:
1 | <a href="javascript:;" @click="deleteEmp(emp.id)">删除</a> |
4、修改员工
dao
1 | // 修改员工 |
1 | <update id="update" parameterType="Emp"> |
service
1 | // 修改员工 |
1 |
|
controller
1 | ("update") |
前端
从员工列表中选中员工的id传递给修改页面:
1 | <a href="javascript:;" @click="updateEmp(emp.id)">修改</a> |
1 | // 修改员工 |
在修改页面创建前(created()方法中)发起获取当前员工信息的请求
1 | // 获取员工id |
使用v-model将返回的json数据绑定表单中的属性值
旧照片的显示和新照片上传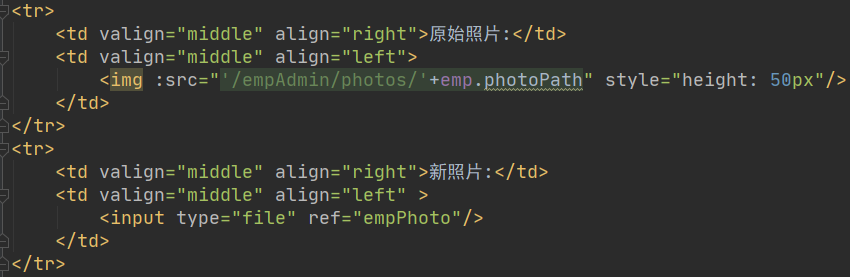
绑定更新事件
1 | <input type="button" @click="updateEmp" class="button" value="更 新"/> |
1 | // 更新员工信息 |
三、整合Redis缓存
1、导入依赖:
1 | <dependency> |
2、配置Redis访问ip和端口
1 | spring: |
3、创建RedisCache类实现mybatis中的Cache接口,对操纵mybatis缓存
1 | package com.zyz.cache; |
4、创建工具类applicationContextUtils实现ApplicationContextAware获取工厂实例,并从中获取需要的实现类
1 | package com.zyz.utils; |
存储在缓存中的实体类必须实现Serializable接口
5、在mapper文件中设置自定义的Redis缓存
1 | <!-- 使用自定义的Redis缓存 --> |


主要界面
项目总结
做了什么?
- 实现了管理员的注册和登录
- 员工的增删改查功能
学到了什么?
- 使用了Redis作为Mybatis的缓存,以前只是对Mybatis的缓存机制停留在了解阶段,这次使用上了之前学习的Redis数据库
- 使用了vue对页面进行渲染,axios发起异步请求,熟悉了前后端分离系统的数据交互模式
- 使用base64格式在浏览器端显示图片,需要在base64格式的图片前面加上
data:image/png;base64,前缀 - 学习到了使用ObjectUtils,StringUtils对一些属性进行非空判断
- 使用 Exception+ResponseBody,讲异常返回给前端,给用户友好的提示
- 使用localStorage保存用户登录信息
- 在vue中构造表单,填充数据和文件,后端使用MultipartFile类接收前端的文件,并上传值到指定目录
遇到的问题,怎么解决的?
- 上传用户照片的问题,在指定的上传目录发现了文件的存在,可是却在浏览器中显示不出来,通过查看数据库中员工表的信息,发现其他属性都存在,只有照片为空,通过在controller的添加方法打上断点,调试发现图片并没有保存到员工对象中,通过添加相应的set方法,最后解决了问题。
- 在项目中我使用了date来显示当前的日期,而对前后端的交互中要频繁使用到data变量,在一次测试过程中就一不小心写错了,检查了很长时间才发现,真的差之一毫,谬之千里啊!
优化
添加日志输出功能
1 | private static final Logger LOGGER = LoggerFactory.getLogger(UserController.class); |
在方法中打印日志:
1 | LOGGER.info("用户登录,参数:{}", JSON.toJSON(user)); |
使用自定义注解并实现日志切面的方式打印日志:
1 | (ElementType.METHOD) |
LogAspect.java
1 |
|
自定义缓存注解并实现缓存切面
支持单独设置缓存的过期时间
1、自定义RedisTemplate,指定序列化方式,防止出现乱码
1 |
|
2、自定义缓存注解
1 | ({ElementType.METHOD, ElementType.TYPE}) |
3、实现缓存切面CacheAspect.java
1 |
|
1 | public class UuidUtils { |
4、使用自定义注解:
1 | (key="user:login",expire = 15*60) |
生成的key-value: