对于数据访问层,无论是SQL还是NOSQL,Springboot底层都是采用Spring Data的方式进行统一处理。
整合jdbc
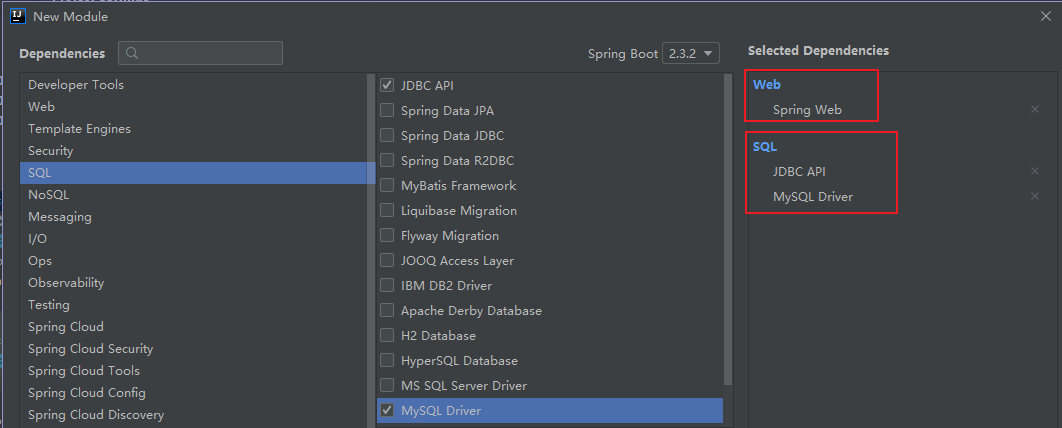
1、新建项目引入web模块和连接mysql必须的模块,JDBC API,MySQL Driver
2、项目建立完成后,发现已经替我们导入响应的启动器
1 | <!--web--> |
3、编写yaml配置文件连接数据库
1 | spring: |
在测试类中测试连接是否成功
4、配置完这一些东西后,我们就可以直接去使用了,因为SpringBoot已经默认帮我们进行了自动配置
1 |
|
5、编写一个Controller,注入 jdbcTemplate,编写测试方法进行访问测试;
1 | // 返回json对象给浏览器 |
至此,使用原生的jdbc完成了基本的crud操作,因为springboot对jdbc进行了轻量级的封装,在使用上也并不是很繁琐。
整合Druid
1、添加Druid依赖
1 | <!--druid--> |
2、在配置文件中指定数据源
1 | spring: |
3、测试并查看数据源
1 |
|
4、获取连接成功后,可以设置数据源连接初始化大小、最大连接数、等待时间、最小连接数等设置项
1 | spring: |
5、导入log4j依赖
1 | <!--log4j --> |
6、创建DruidConfig类,用于拓展配置druid
将数据源的配置文件绑定到容器中,无需springboot再创建容器
1 |
|
配置后台监控功能:
Druid 数据源具有监控的功能,并提供了一个 web 界面方便用户查看,类似安装路由器 时,人家也提供了一个默认的 web 页面。
1 | // 注入到容器中,就相当于web.xml文件 |
访问http://localhost:8080/druid/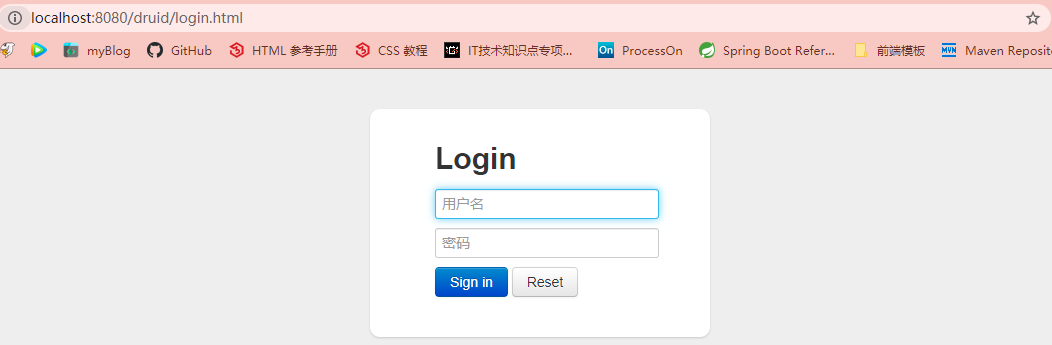
登录成功后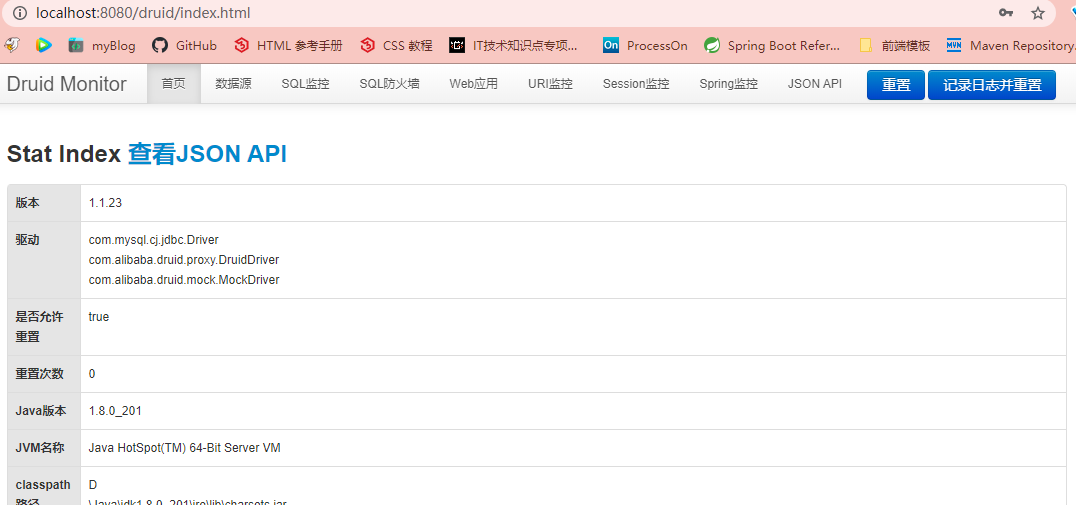
配置过滤器
1 |
|